You Don't Need A Professional Camera To Take Professional-Quality Photos
When traveling, the last thing you want is to be chained to a big, heavy camera. That's why many of us have ditched our SLRs for our iPhones. You know what they say, "The best camera is the one you have on you," so let's make it do the best job possible. You'd be impressed at the quality of the shots you get by toggling a few settings, playing around with angles, and paying attention to lighting. Here are 20 tips for taking great travel photos with just your iPhone.
1. Use Lines
When you're about to take a photo, scan the scene to see if you can find any leading lines to add depth and intrigue to your photo. Leading lines are natural or man-made lines that lead the viewer's eyes through a photo.
2. Get The Horizon Straight
This one may seem straightforward, but in the heat of the moment, it's easy to forget to align the horizon. Although you can fix it with iPhone's editing tool by rotating the photo, you'll have to reframe the shot and lose a portion of the image which isn't ideal so make sure to take those few extra seconds to level your shot.

3. Turn On The Grid
Go into your iPhone's camera settings and toggle the grid option on. This will make lines appear on your screen when you take a photo which is helpful for leveling, alignment, and framing.
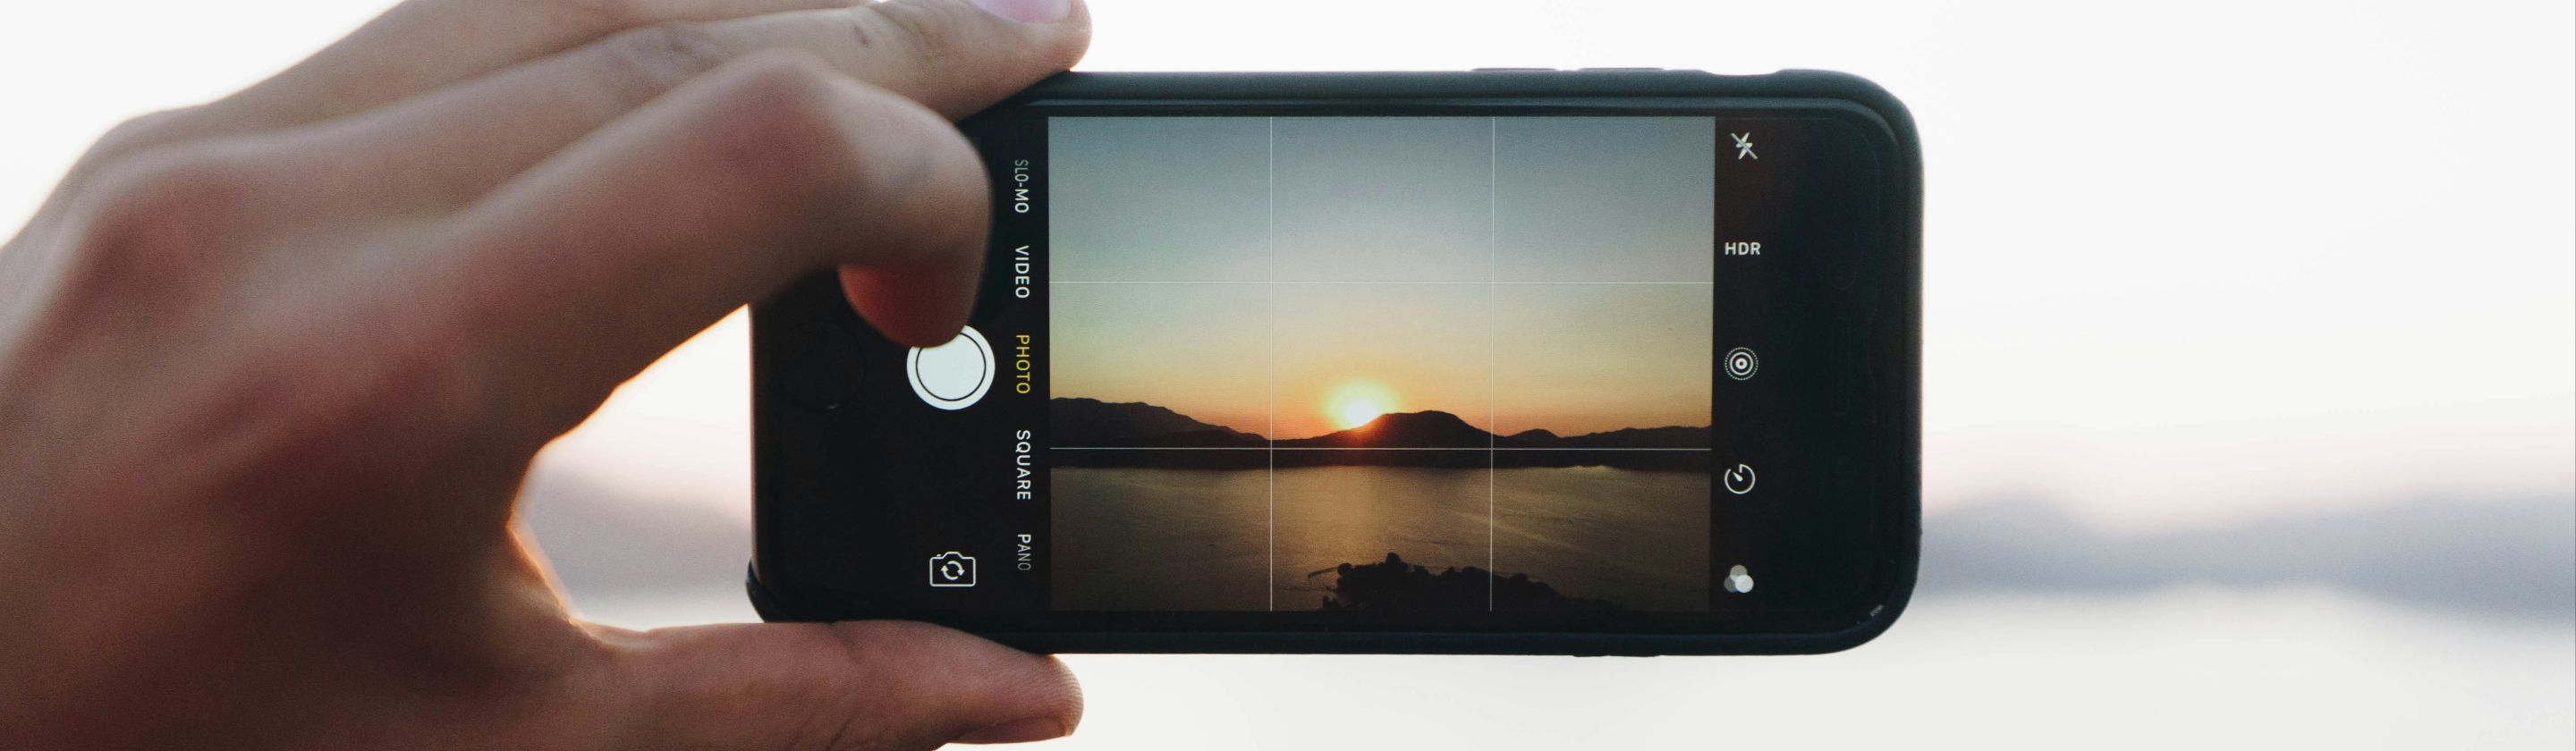
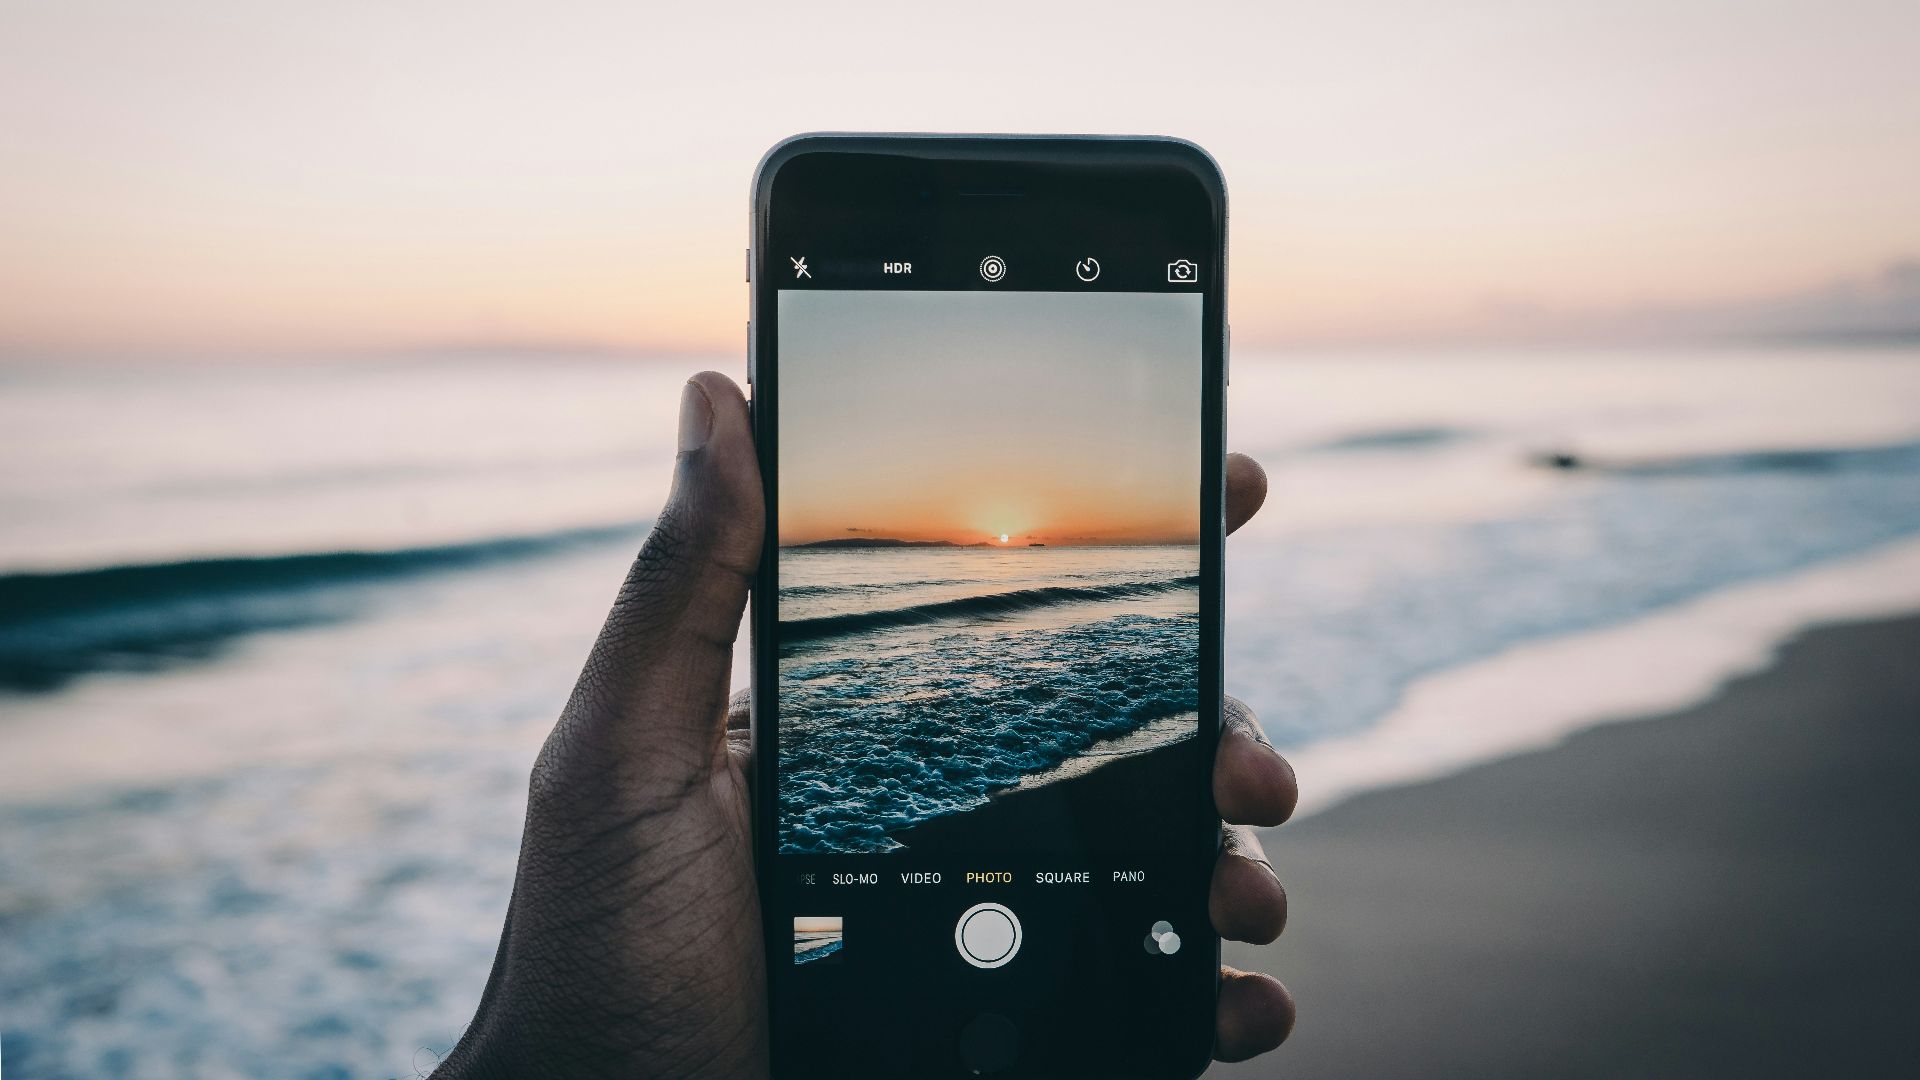
4. Use High Dynamic Range
High dynamic range (HDR) helps you achieve perfectly exposed shots. It's a setting on the iPhone that captures many photos of a scene and combines them. It's especially useful for travel photos when you're often taking pictures in unideal lighting.

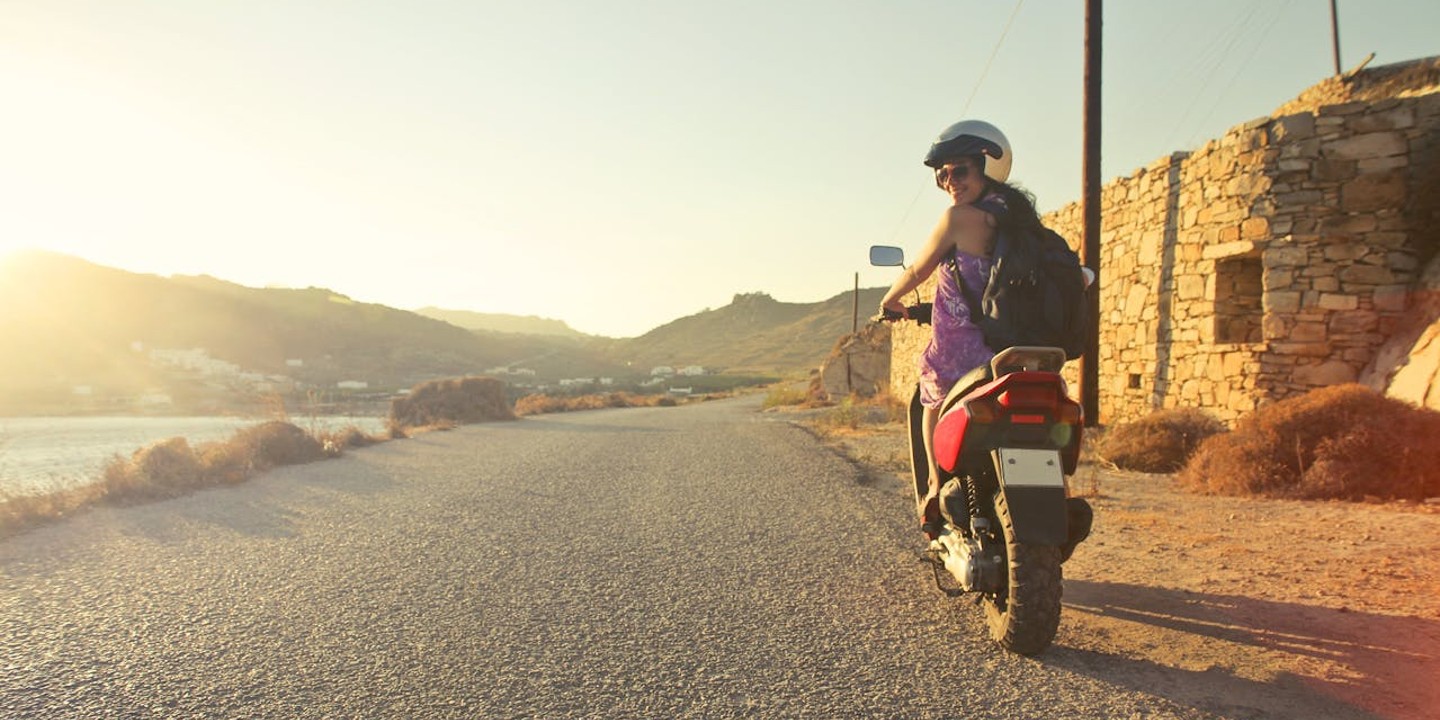
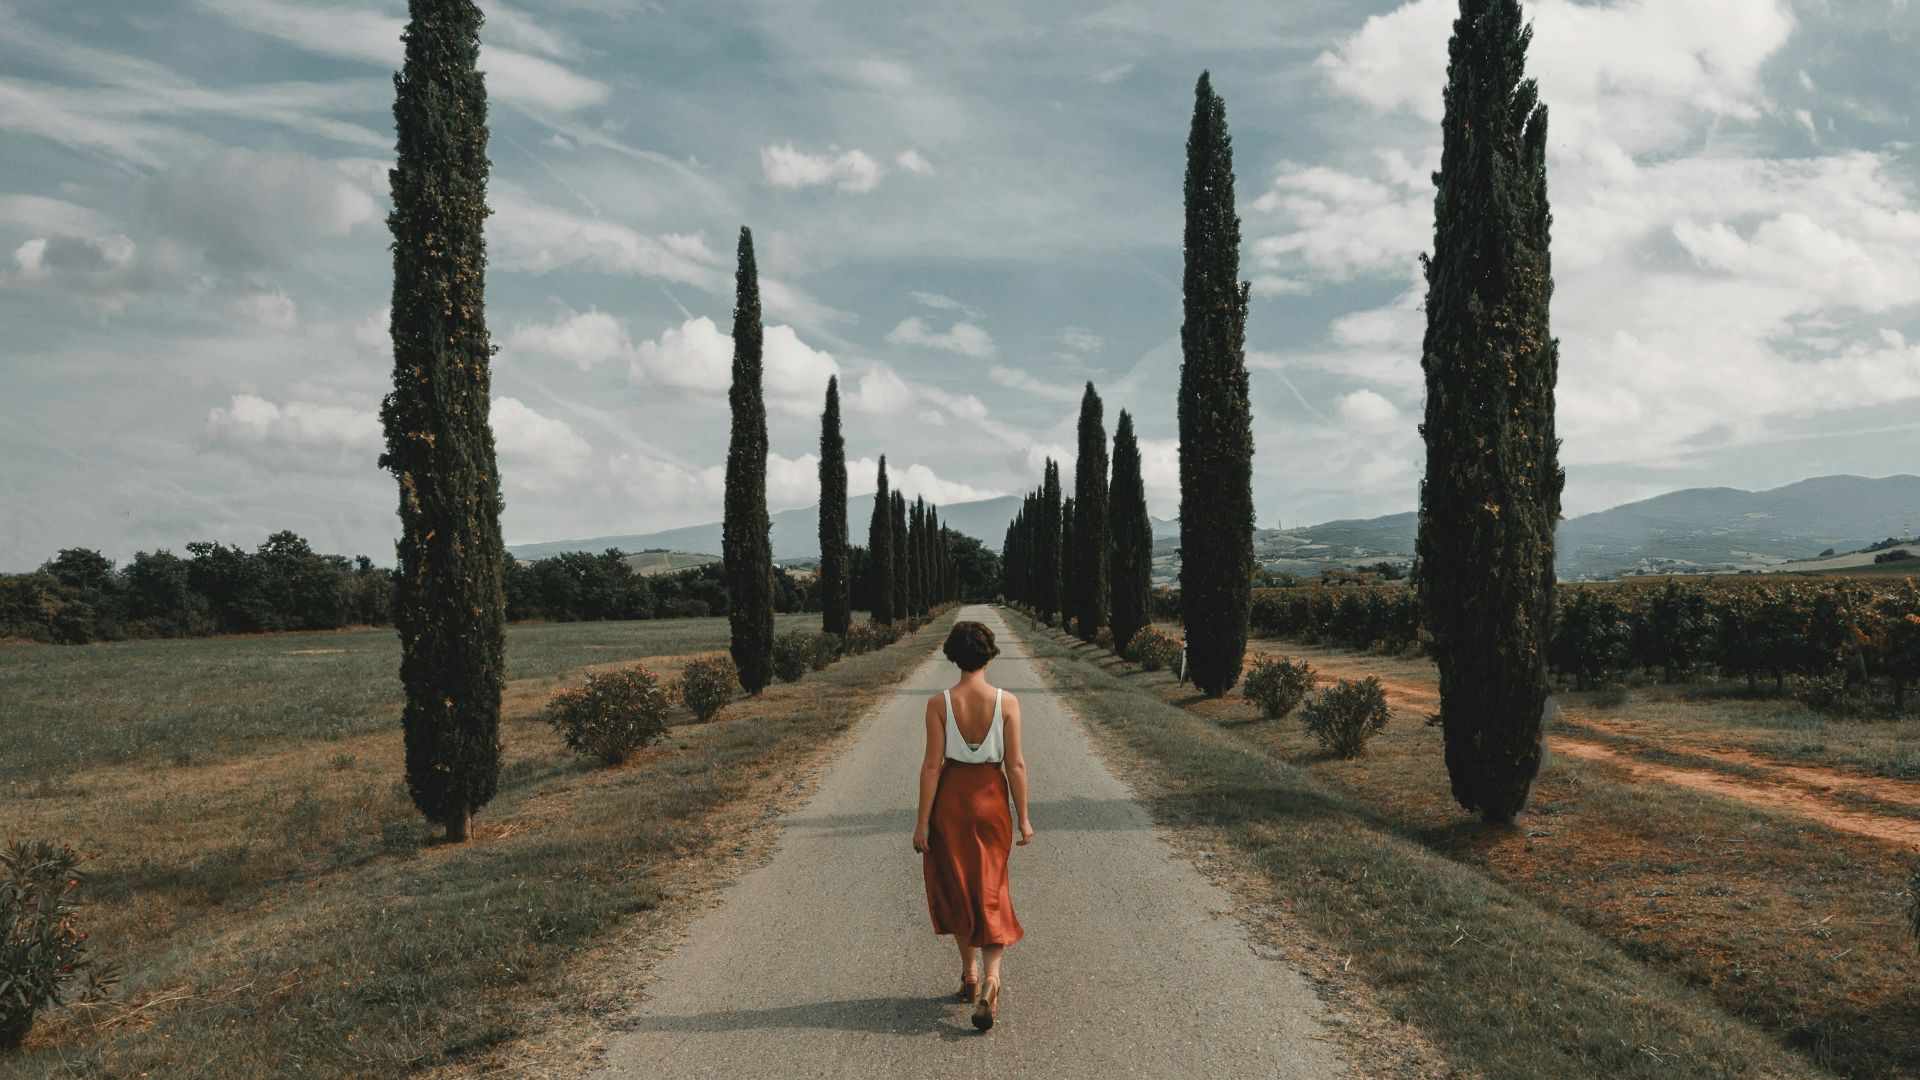
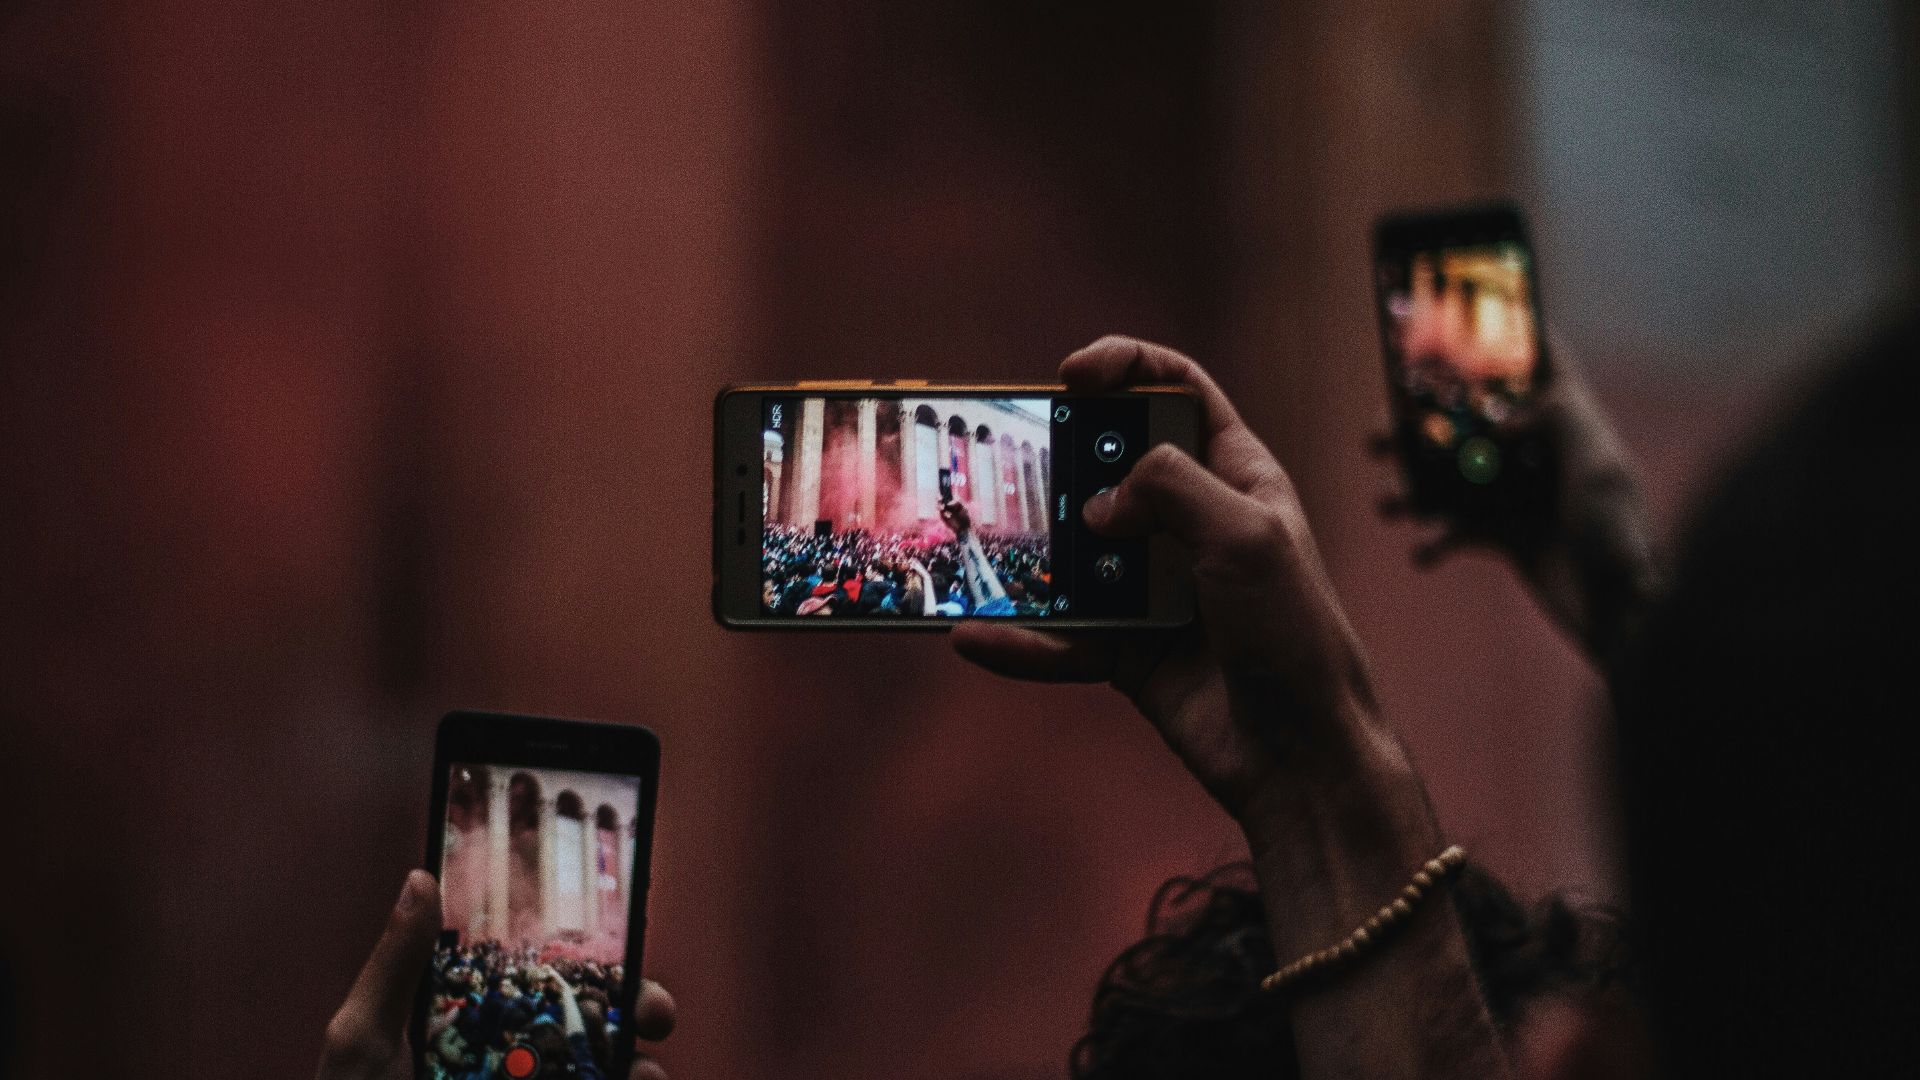
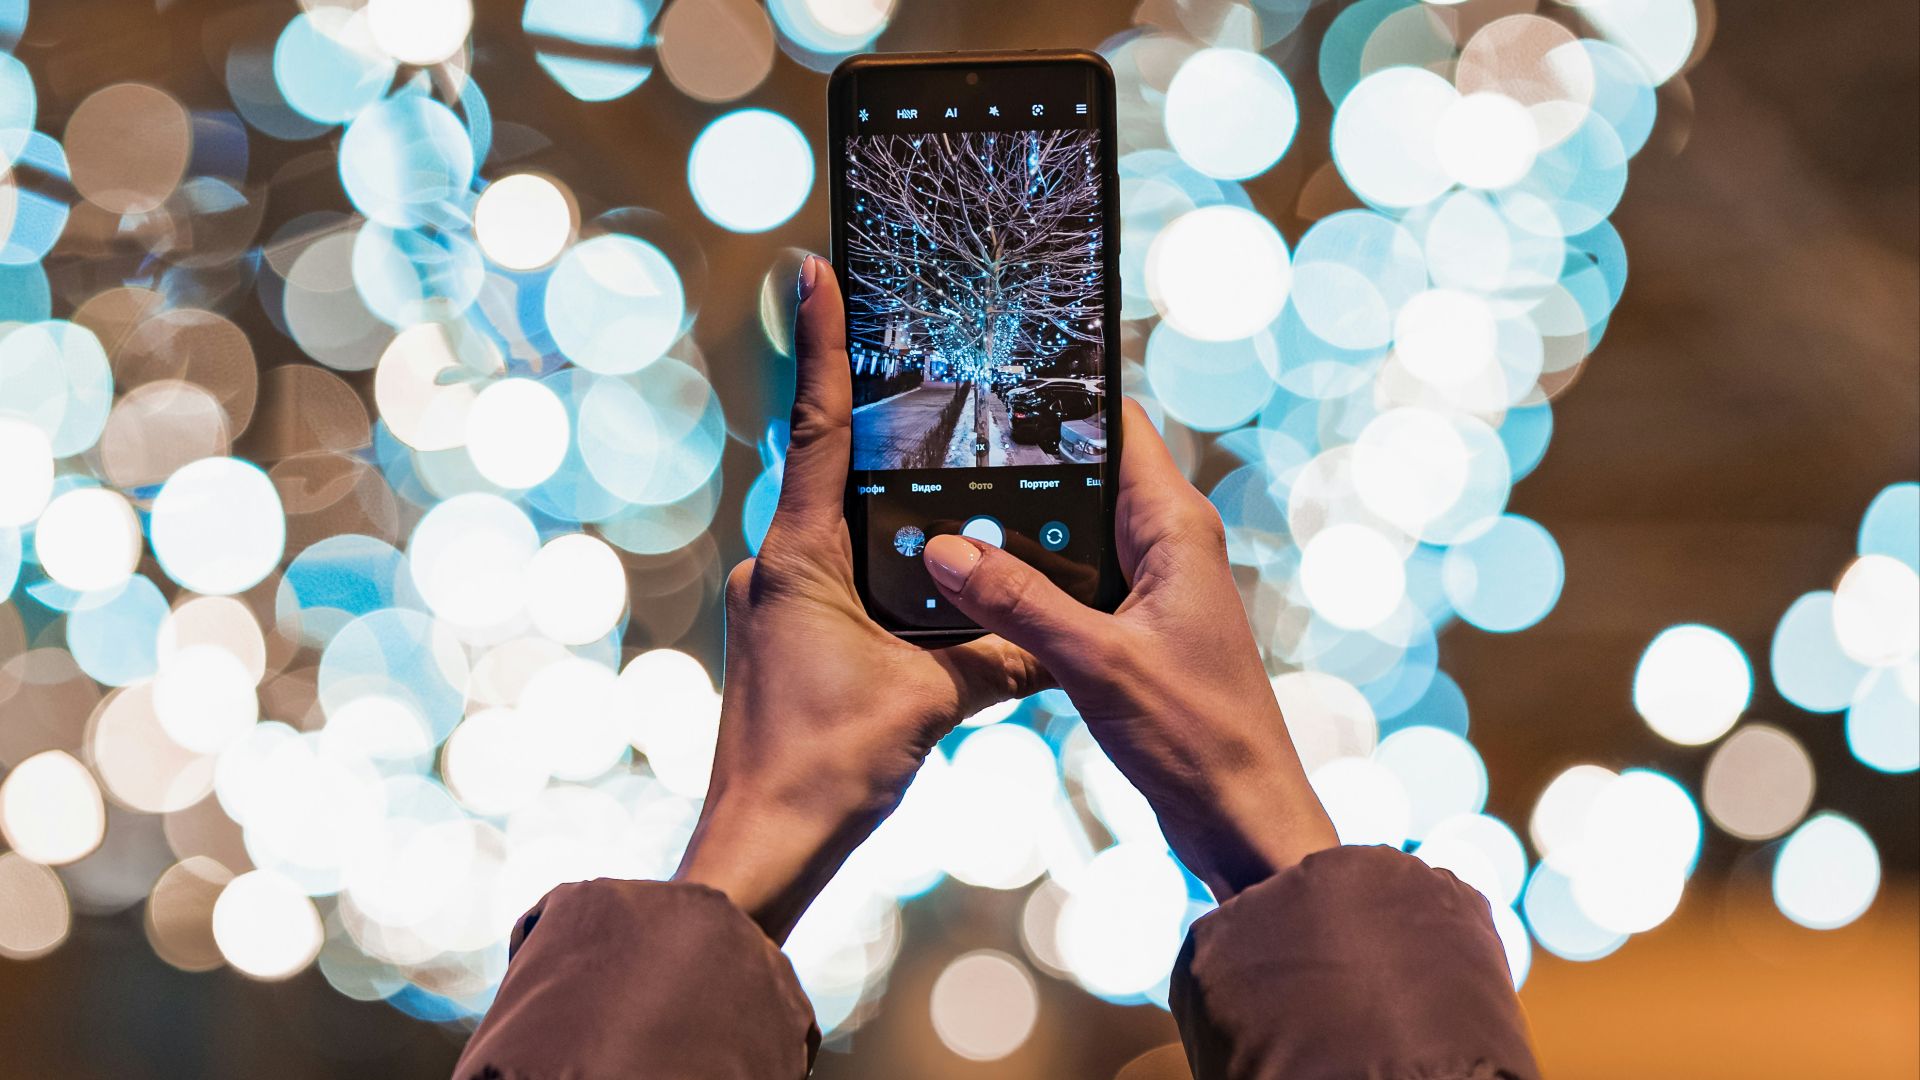
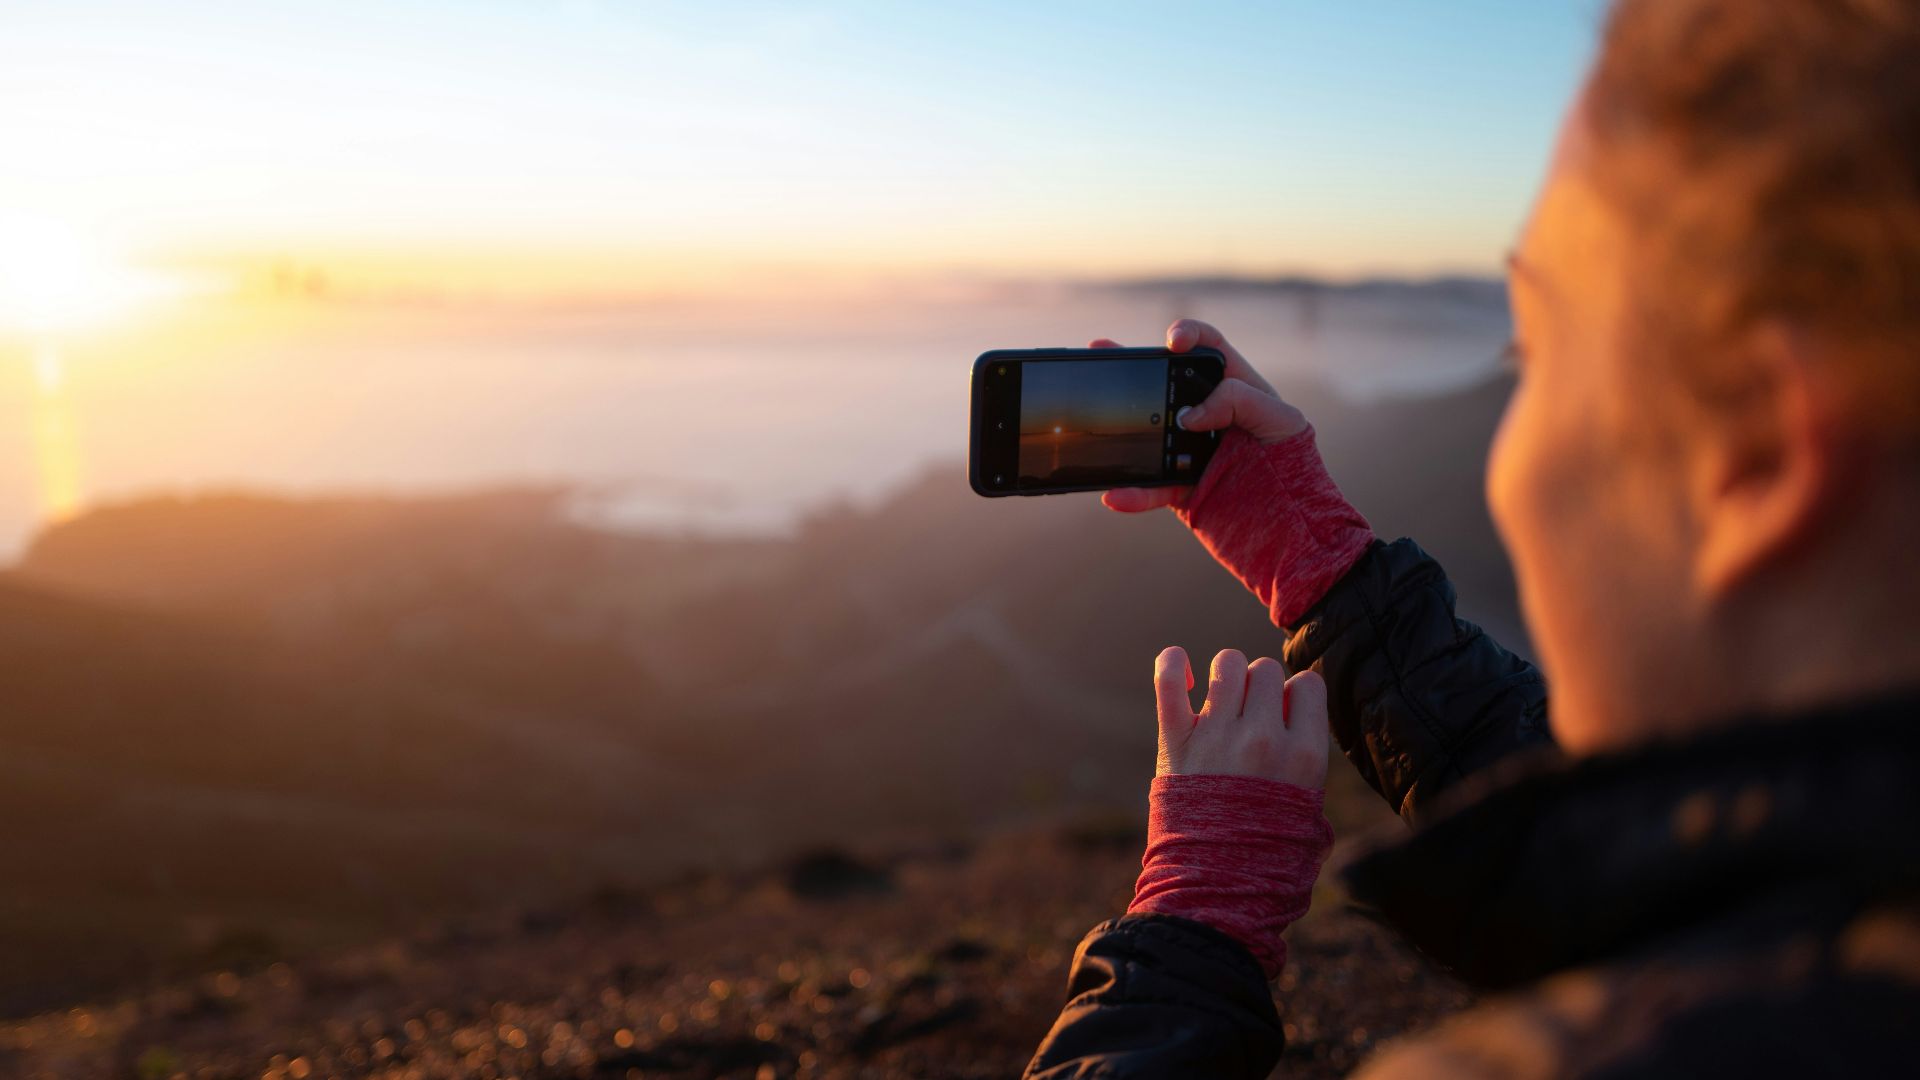
5. Find The Best Angle
Don't just take the same photo as all those other tourists. Experiment with different angles like top-down or straight up to find the best shot. You'll end up with something much more unique and eye-catching.
 Yaro Felix Mayans Verfurth on Unsplash
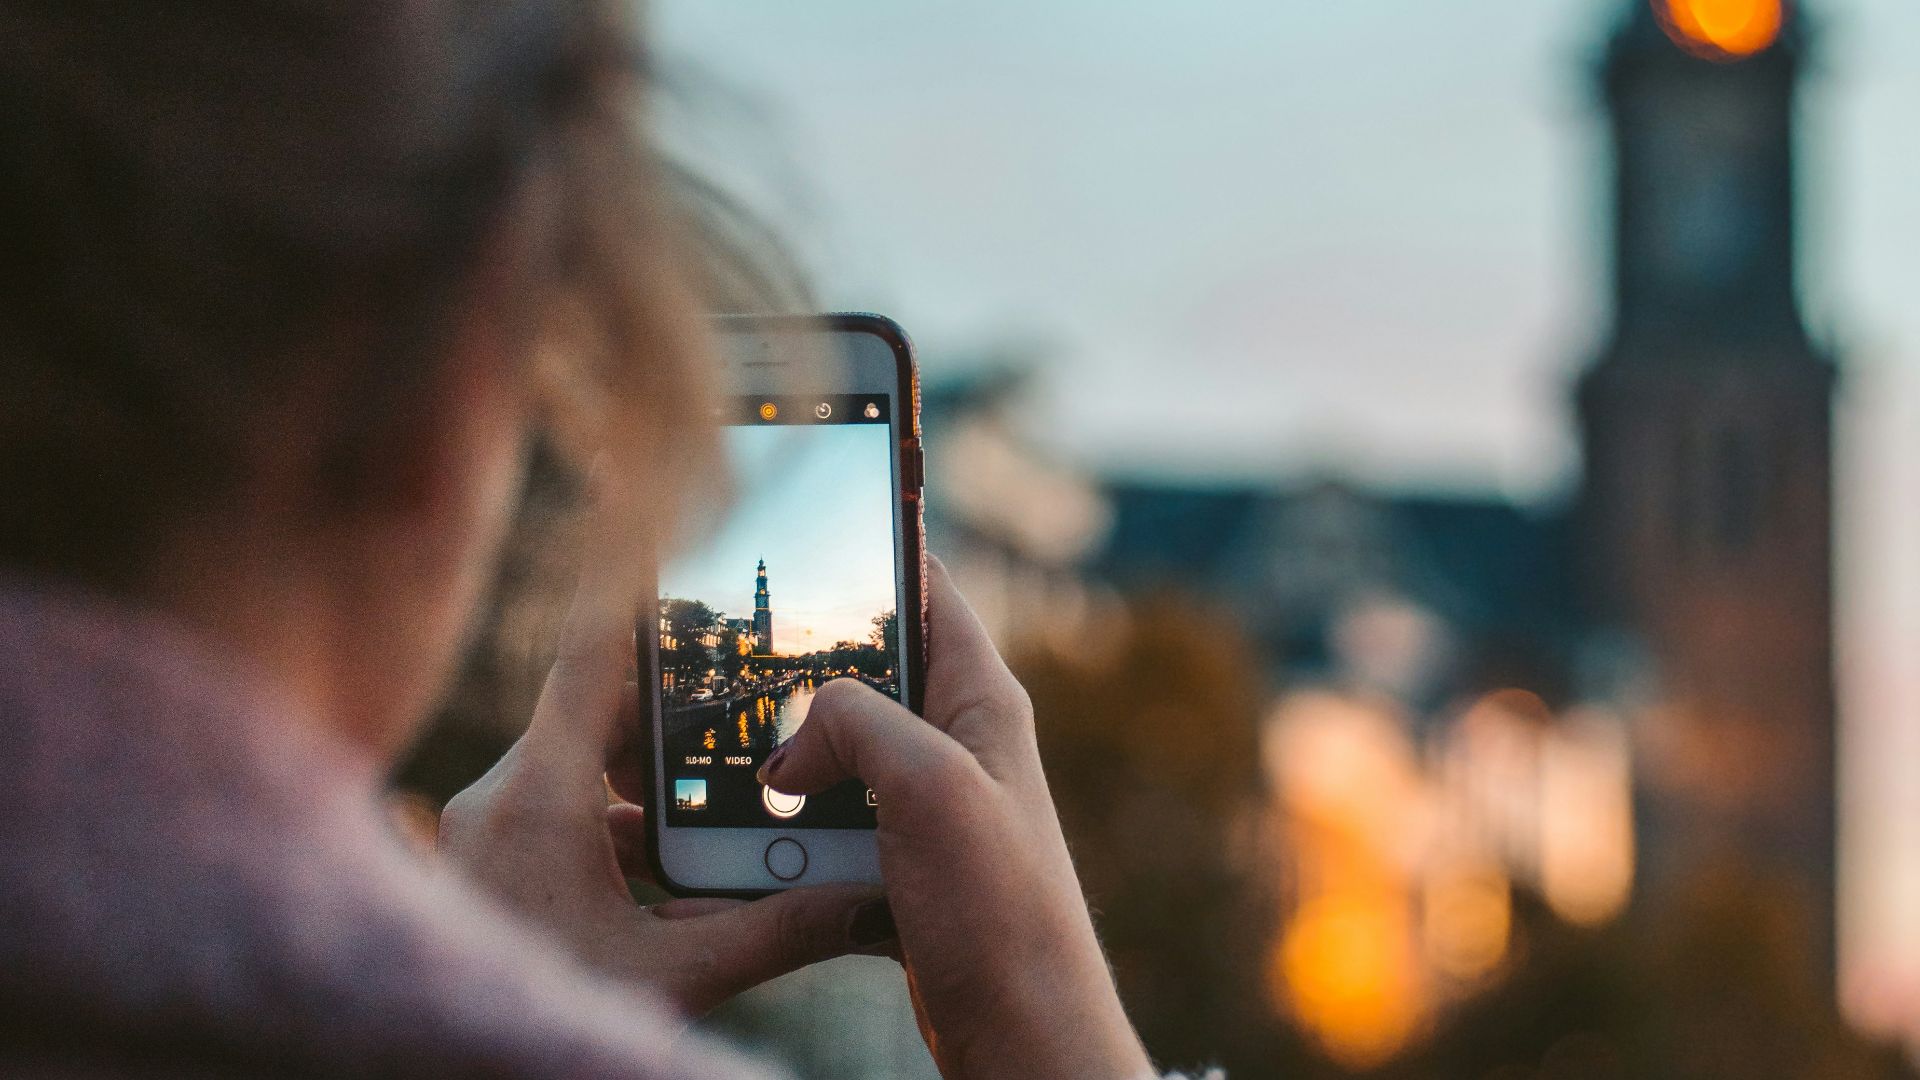
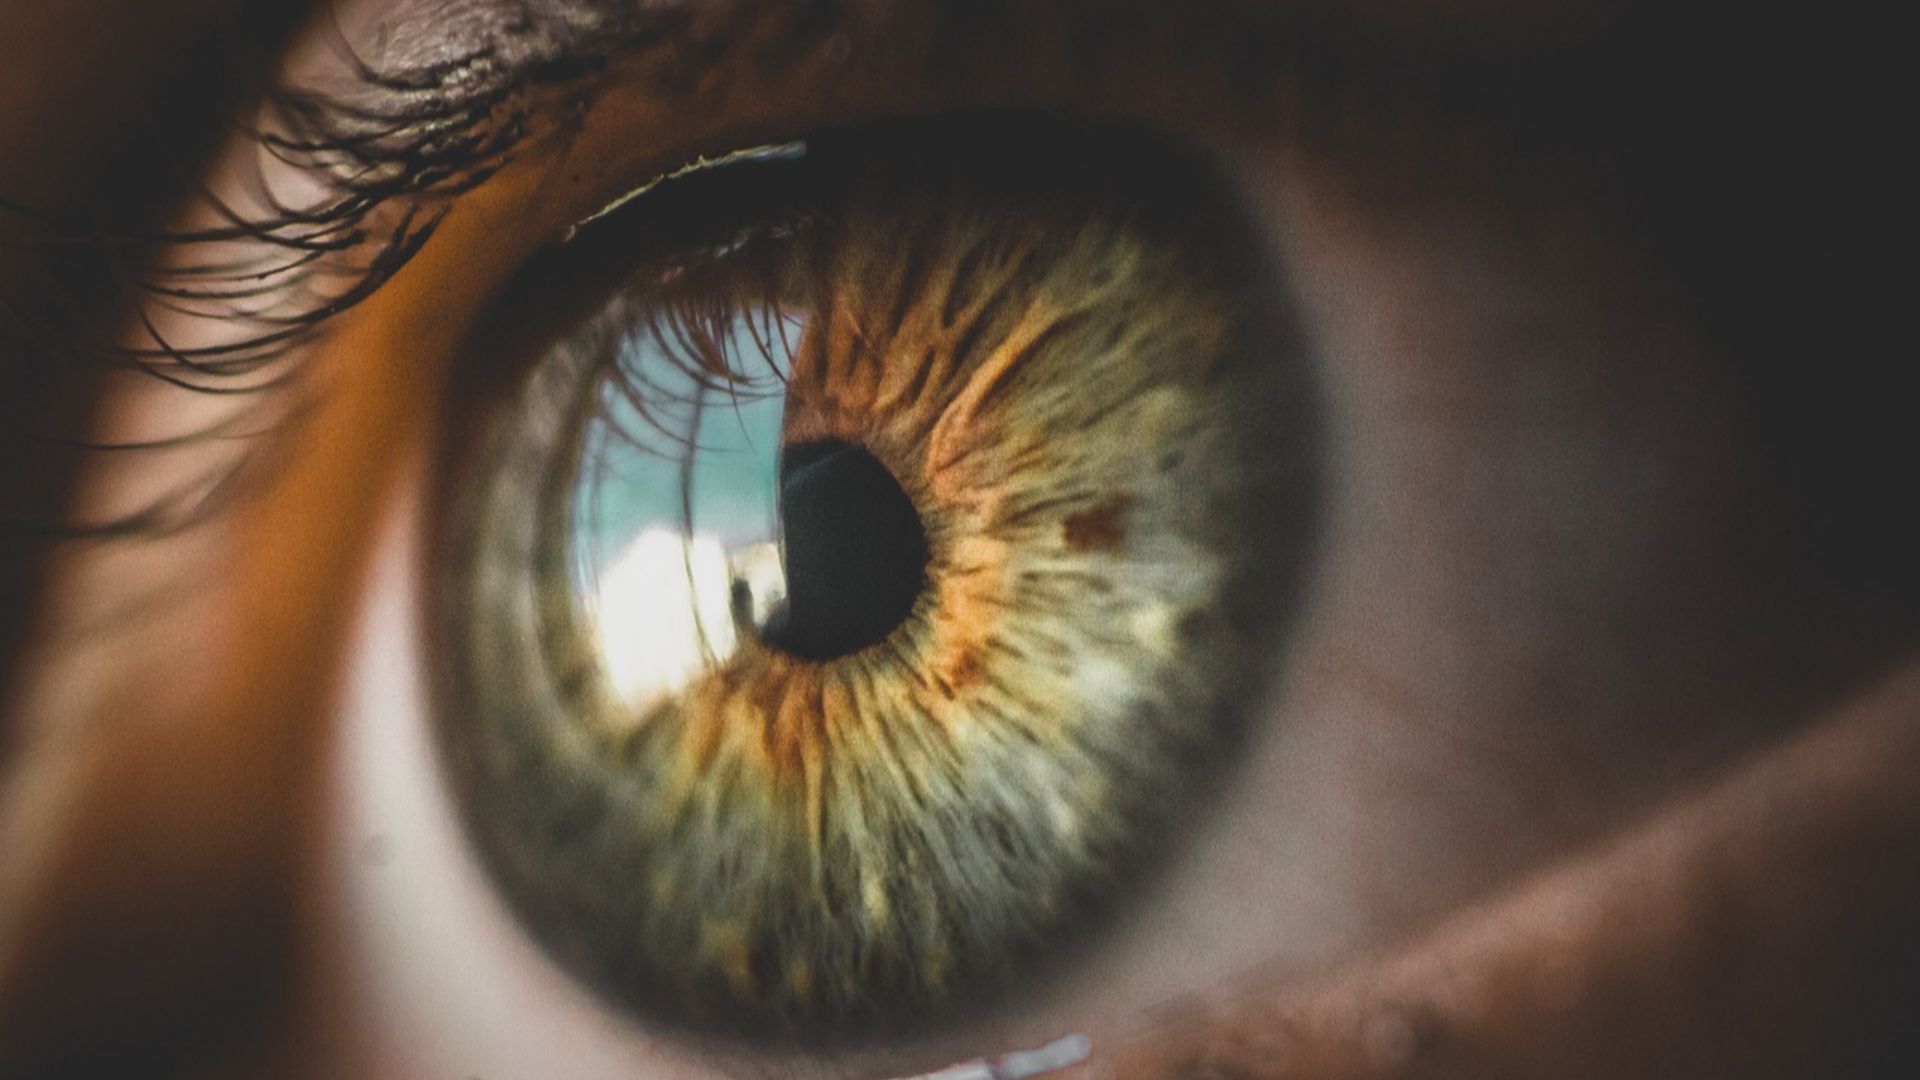
6. Tell The Phone Where To Focus
Your iPhone has an automatic focus option. However, it often gets it wrong, leaving you with a poorly focused image. Make sure to tell it where you want it to focus by tapping the screen.

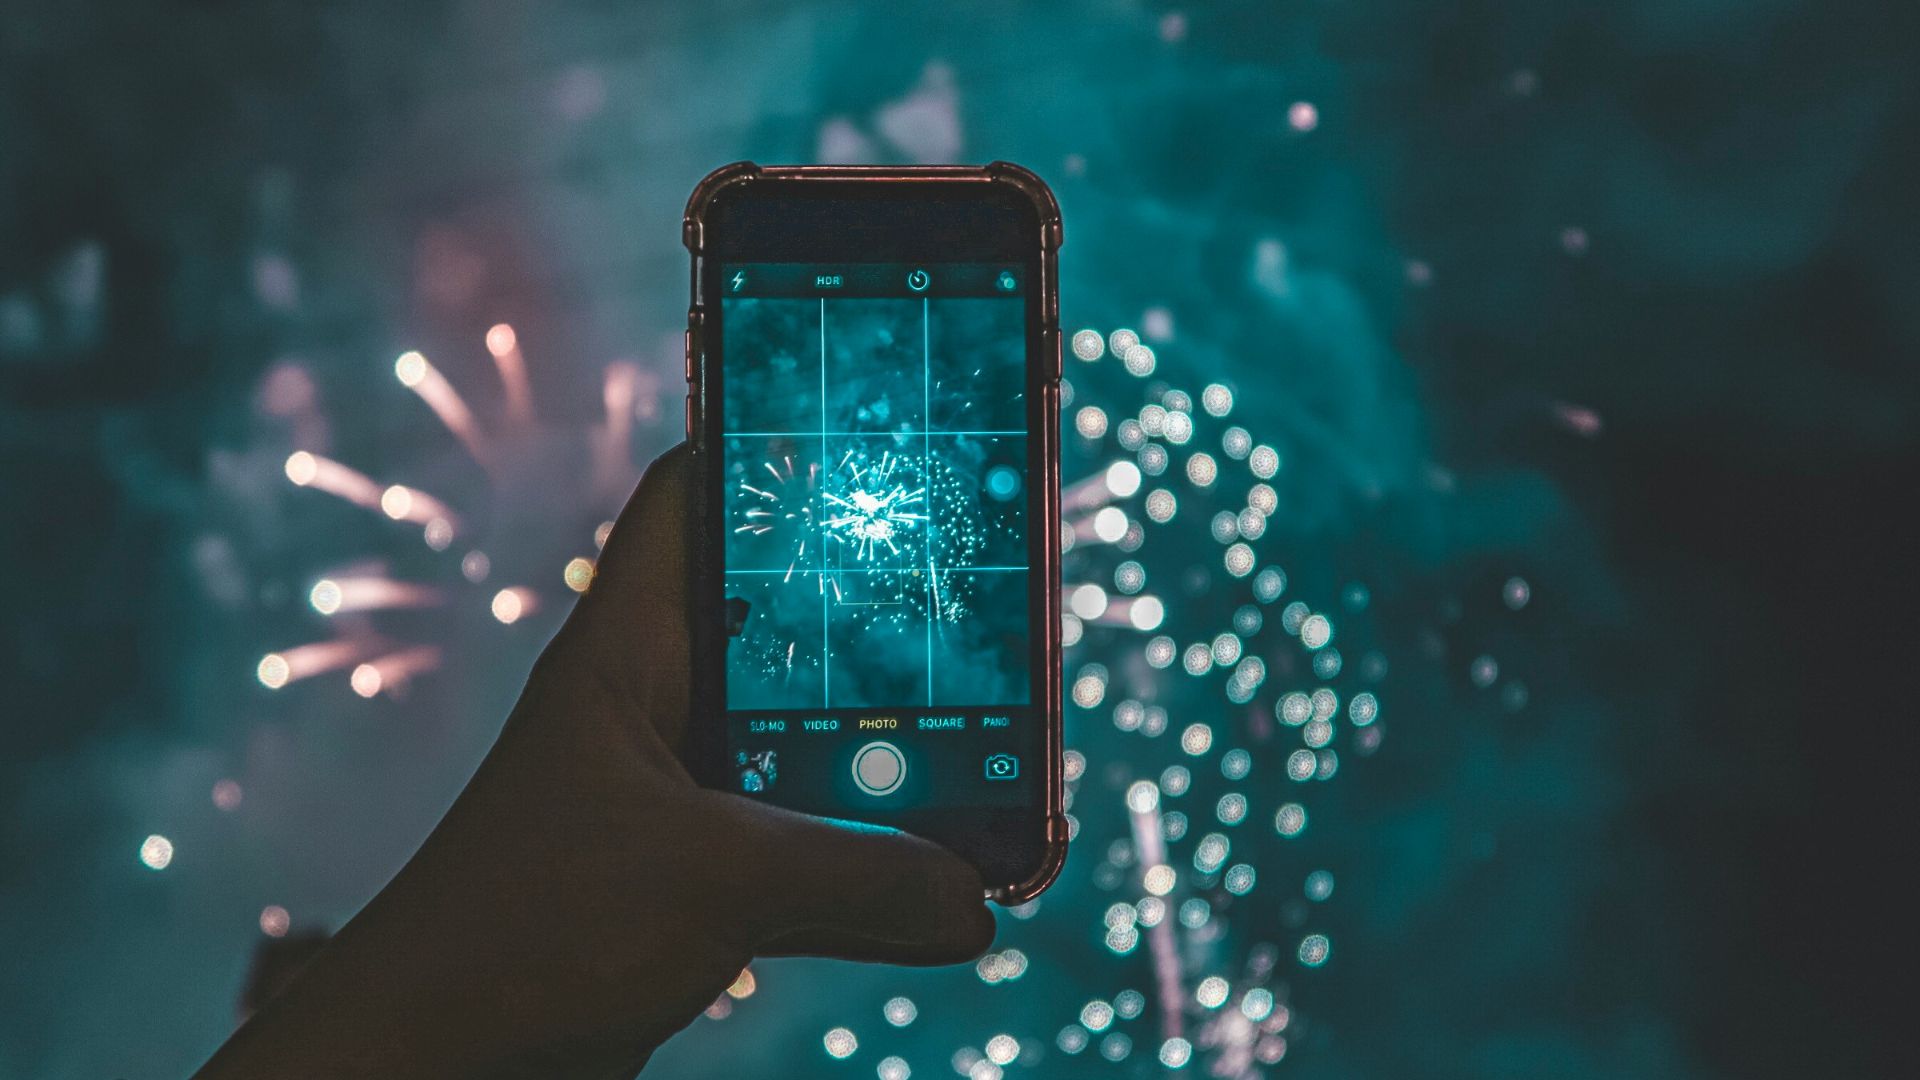
7. Avoid Bright Sunlight
Shooting in direct sunlight will result in overexposed images. If you're going somewhere scenic, try to time it well so you're not there in full afternoon sun.

8. Use Portrait Mode
If you're not already using this mode for your portraits and food shots you're photos are missing out. Portrait mode adds a depth-of-field effect that makes your photos look much more professional.

9. Use Live Photos & Burst Mode
iPhone's live photos and burst mode take many frames of the same shot. This adds motion to your photos but also allows you to choose the best from many shots.
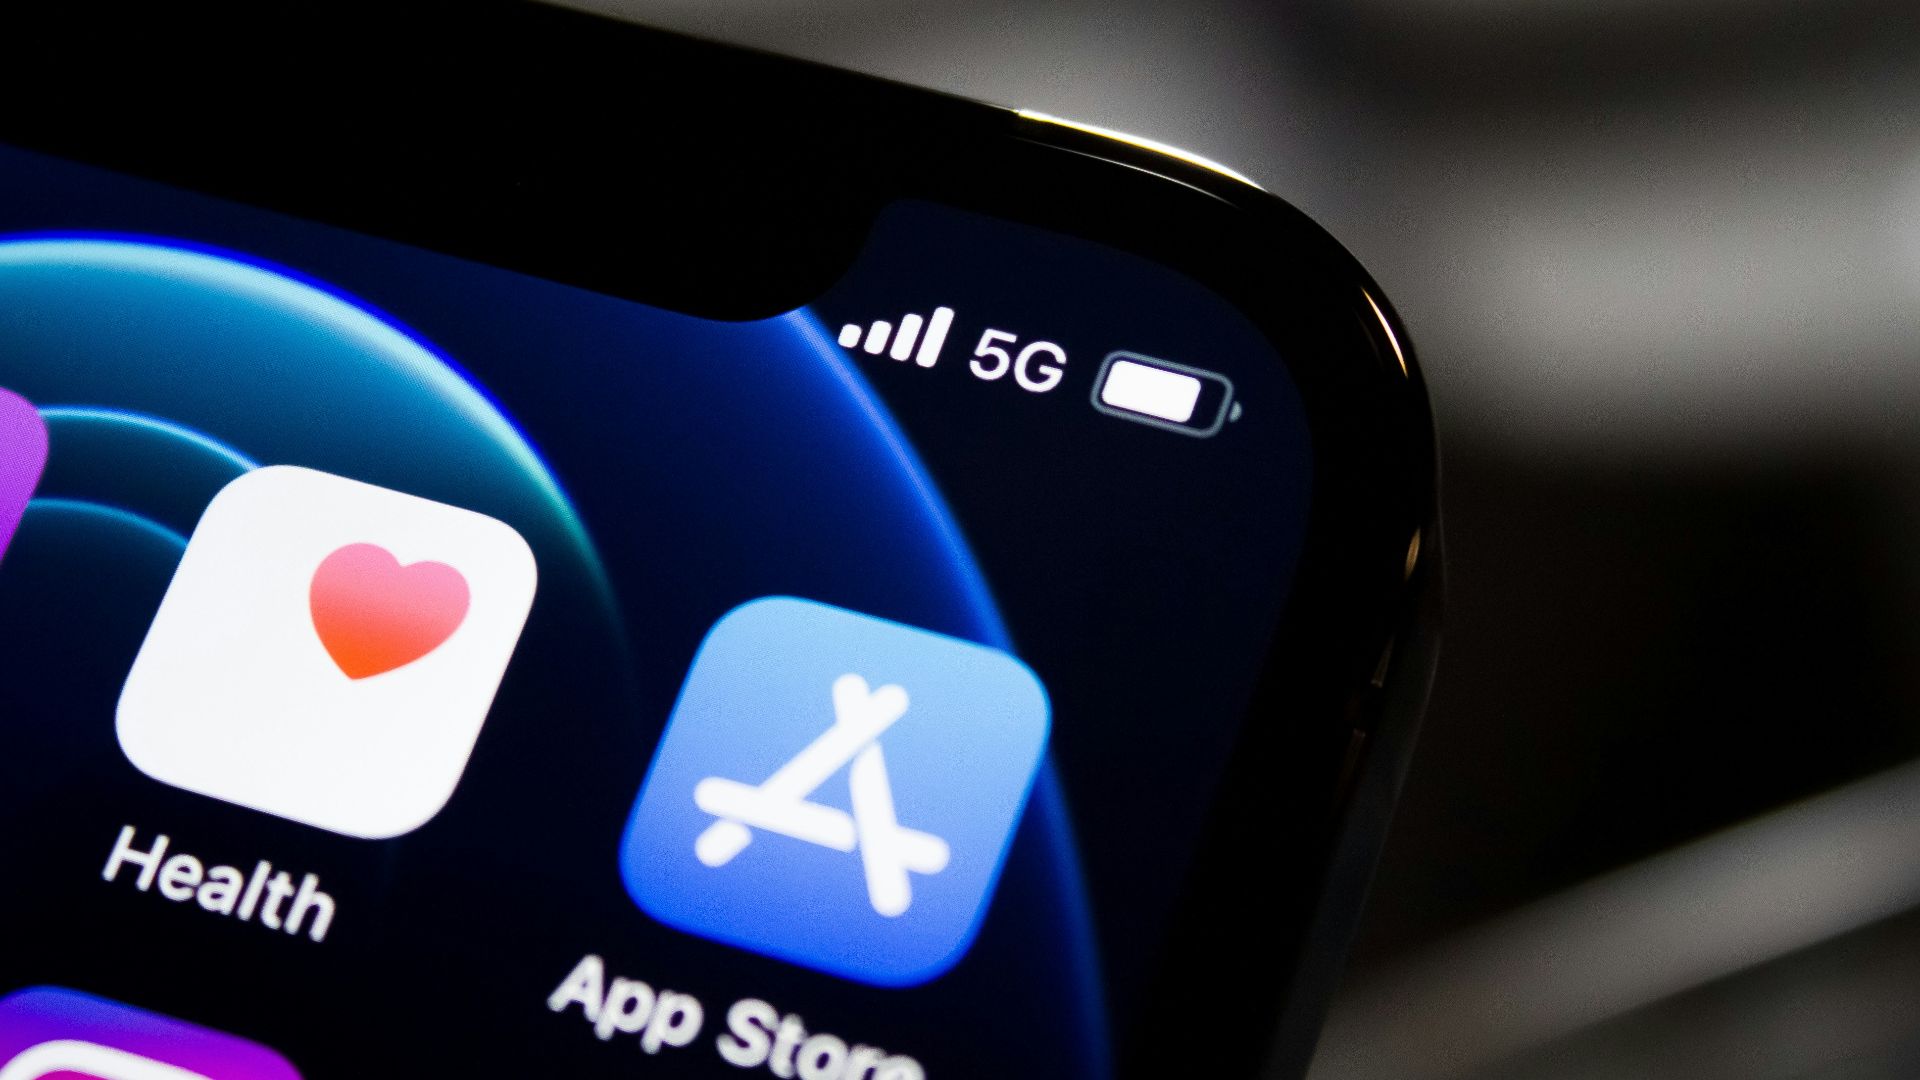
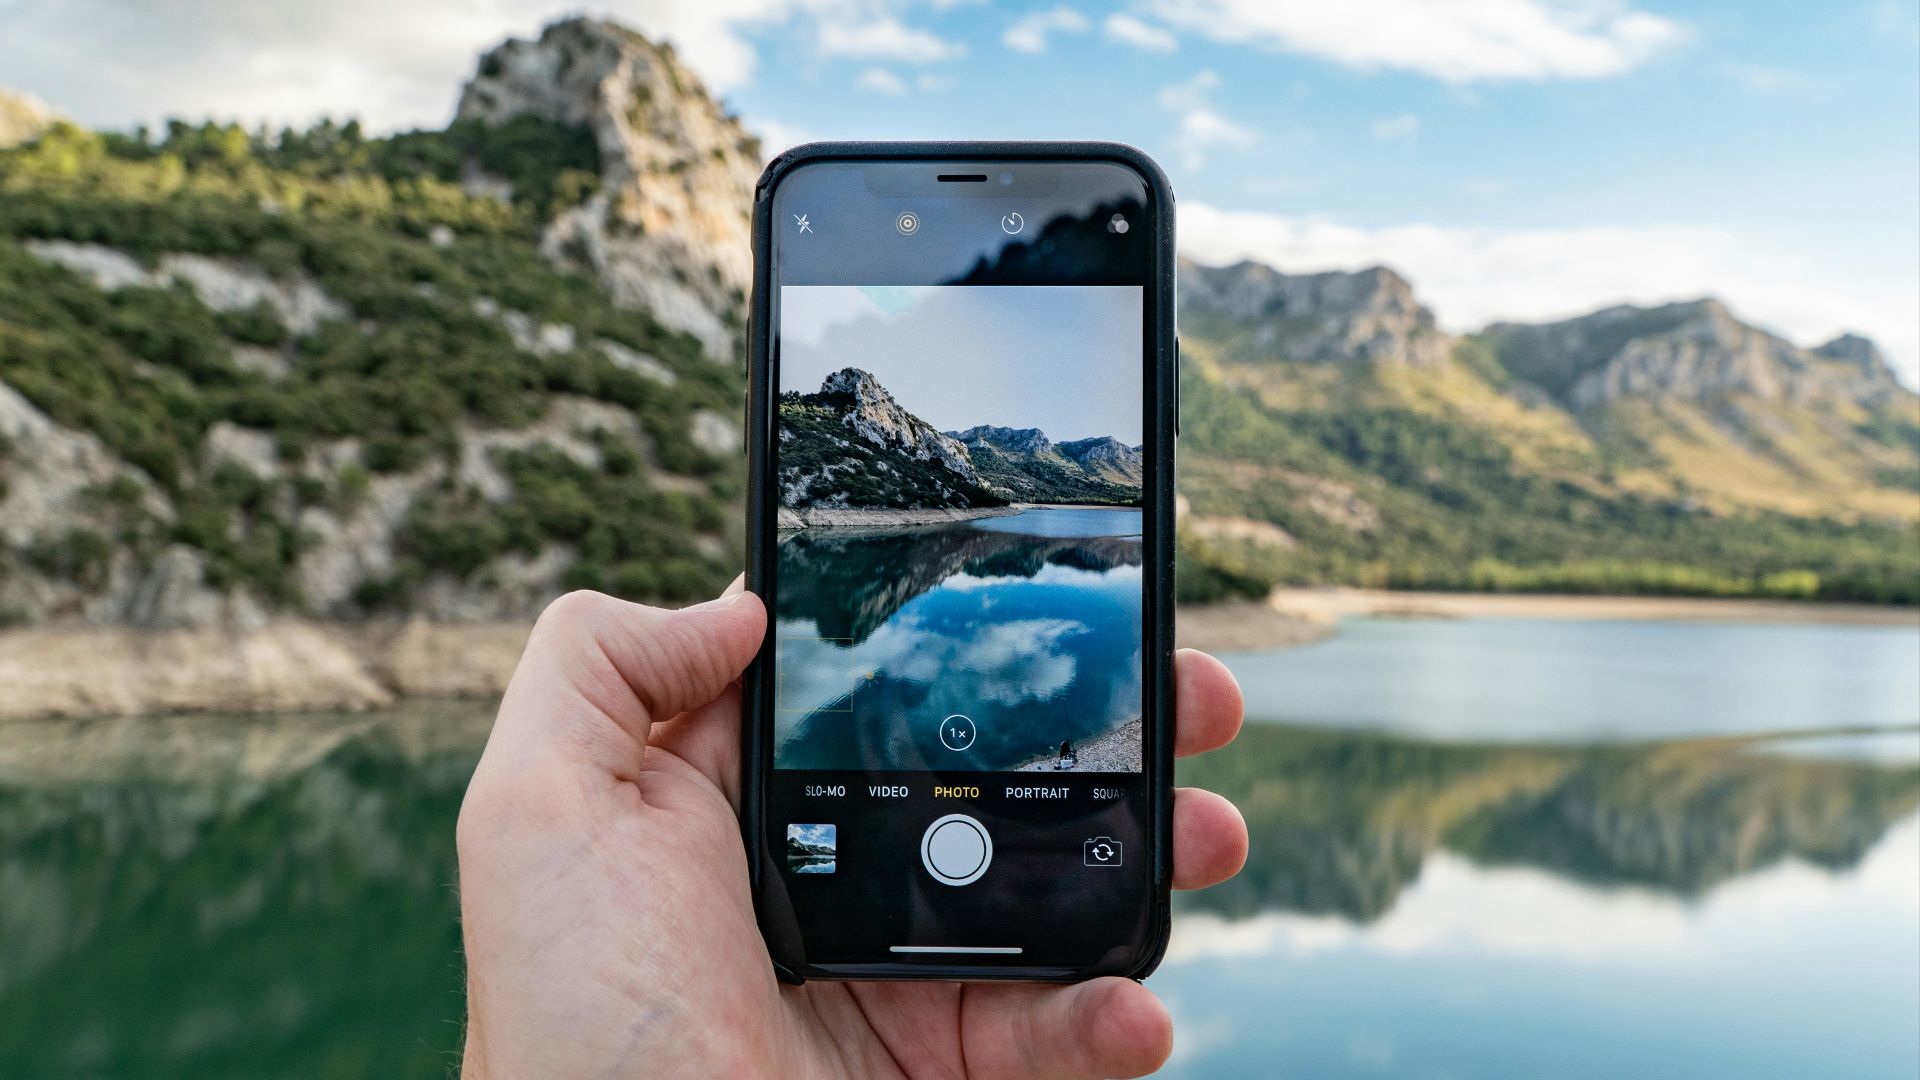
10. Shoot in RAW
iPhone 12 and newer have the option of shooting in ProRAW mode which gives you greater resolution photos and more control over exposure, color, and white balance. To do it, go to your Photo Capture settings and toggle "Apple ProRAW & Resolution Control" on.
11. Turn Off Macro Control
The Macro control on newer iPhones automatically switches to an ultra-wide lens, allowing you to get very detailed up-close images. However, sometimes you don't want your phone to switch to that setting automatically. Keeping your macro switched off allows you to control when to use it.
12. Preserve Camera Settings
Once you have your camera set up just how you like it, remember to preserve the settings so it doesn't just revert to the default modes right away. To do this, go into your camera settings and scroll to "preserve settings."
 Nigel Tadyanehondo on Unsplash
13. Use Camera Controls
If you have a few different camera settings you like to switch between, use "Camera Controls" in the camera app to quickly access your most common settings. This is only available on iPhone 16.
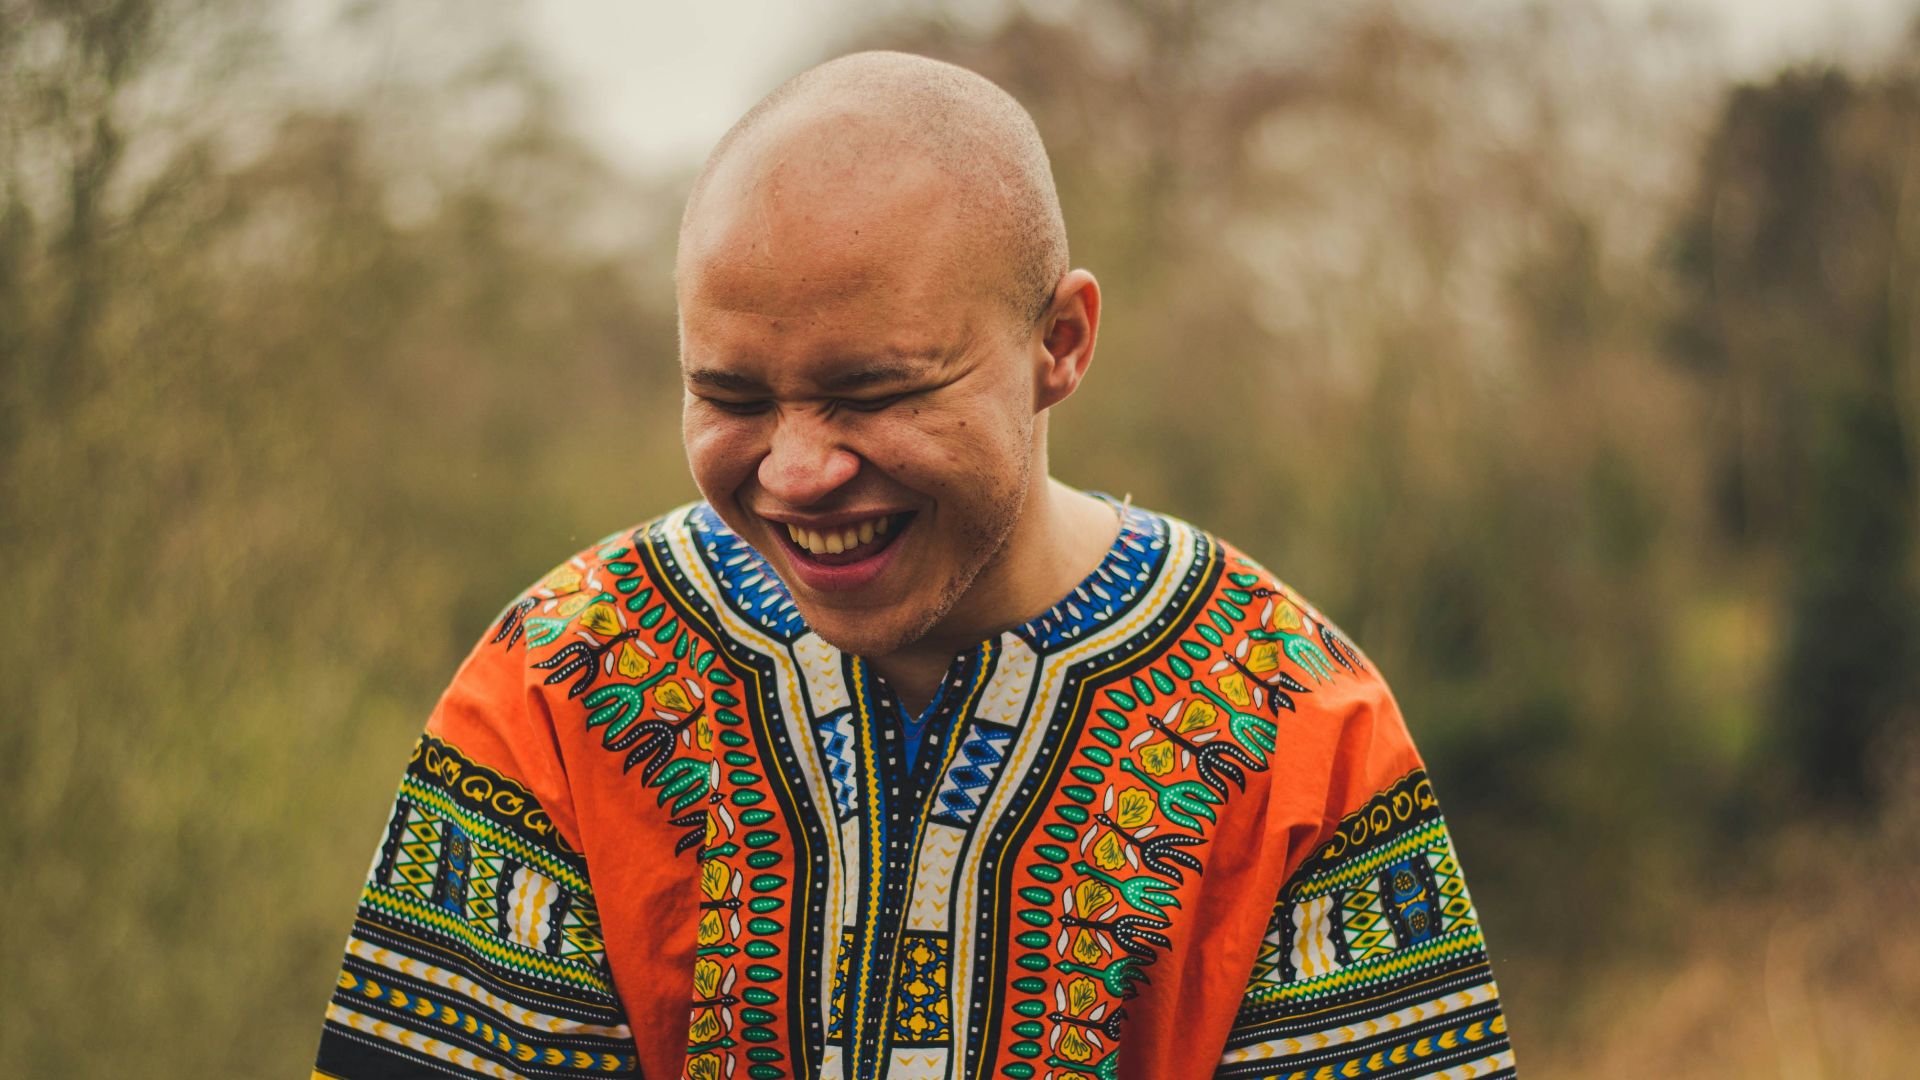
14. Capture Candid Moments
A big part of traveling is the people you meet along the way. The most priceless photos are the ones that capture the simple moments you share, not staged or posed. These are the images you'll cherish most when you look back on them years down the line.
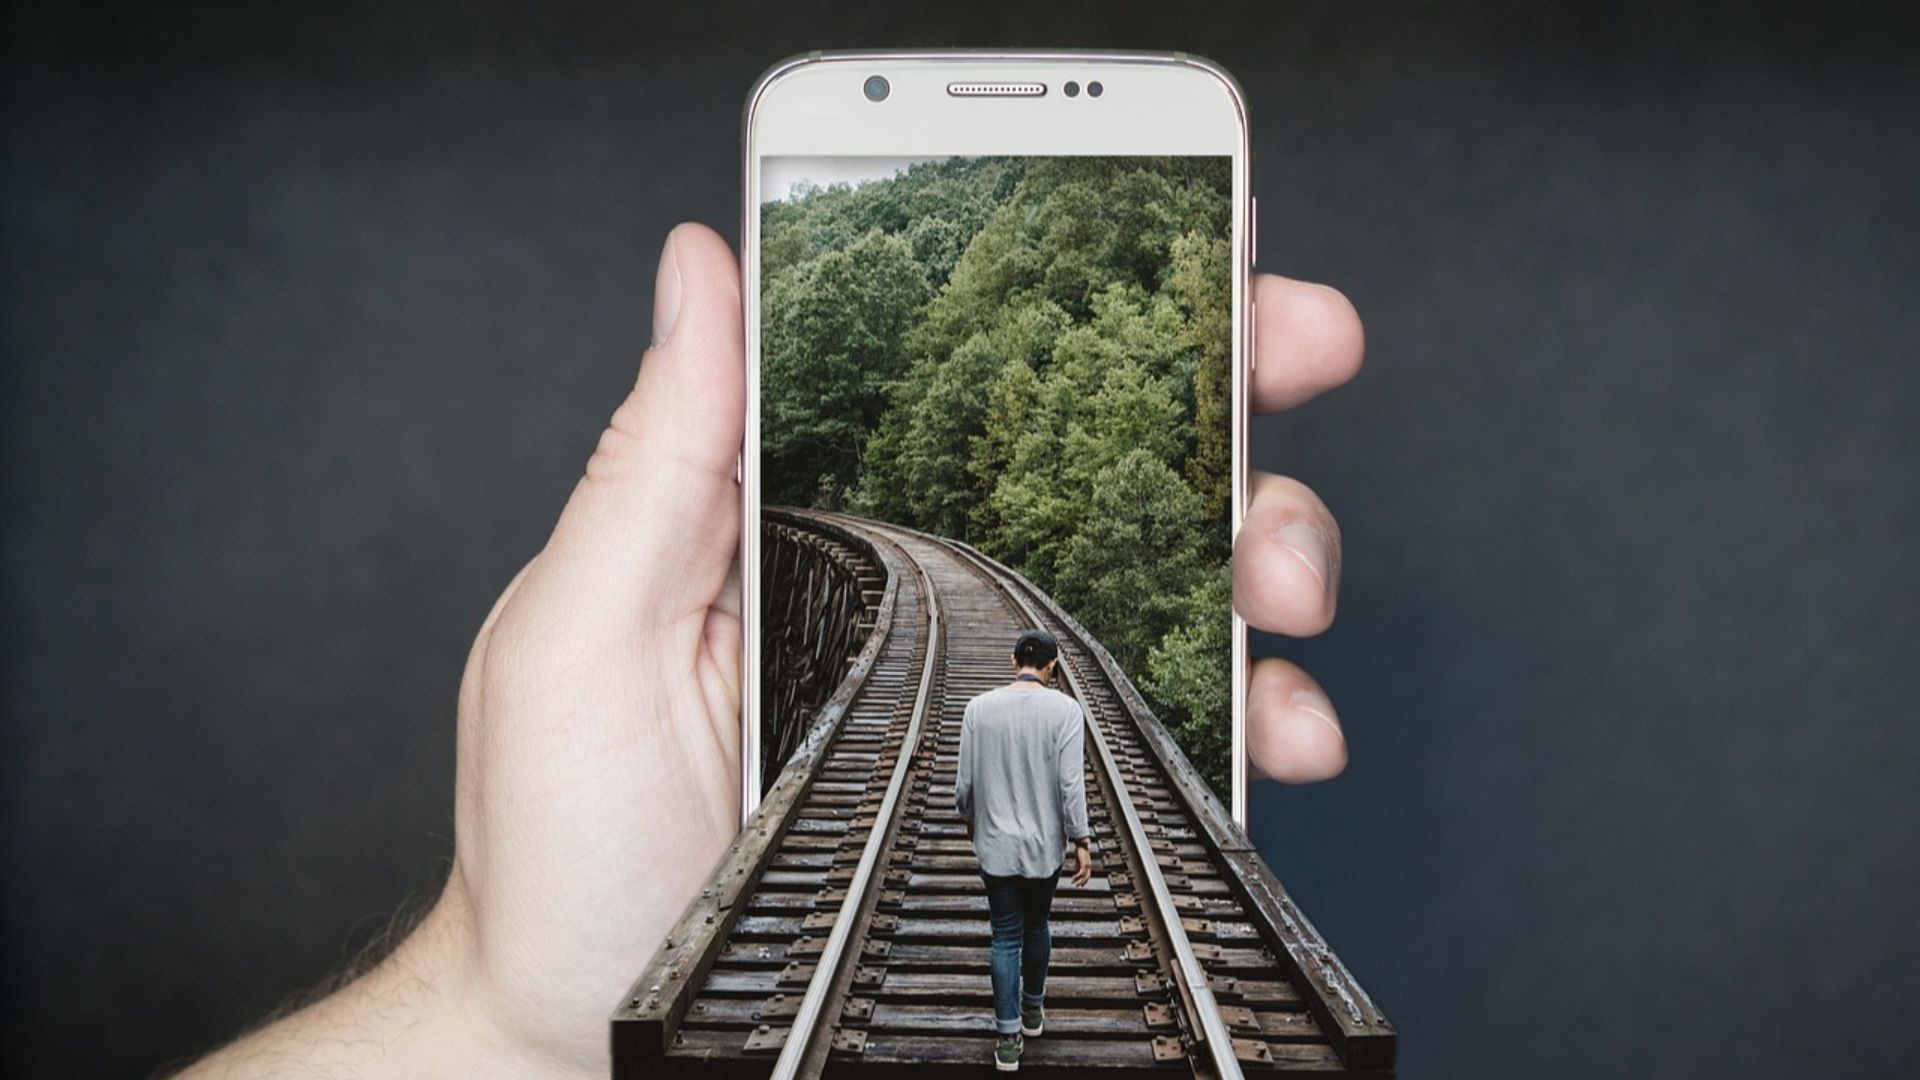
15. Don't Stop At One
The beauty of digital photography is the ability to take as many photos as you like. Take advantage of this by taking many photos of a certain scene to tell a story.
16. Adjust Exposure
When you're taking a photo, don't neglect the exposure. Though the iPhone automatically adjusts it, sometimes it's not exactly how you want it so take an extra second to consider this.

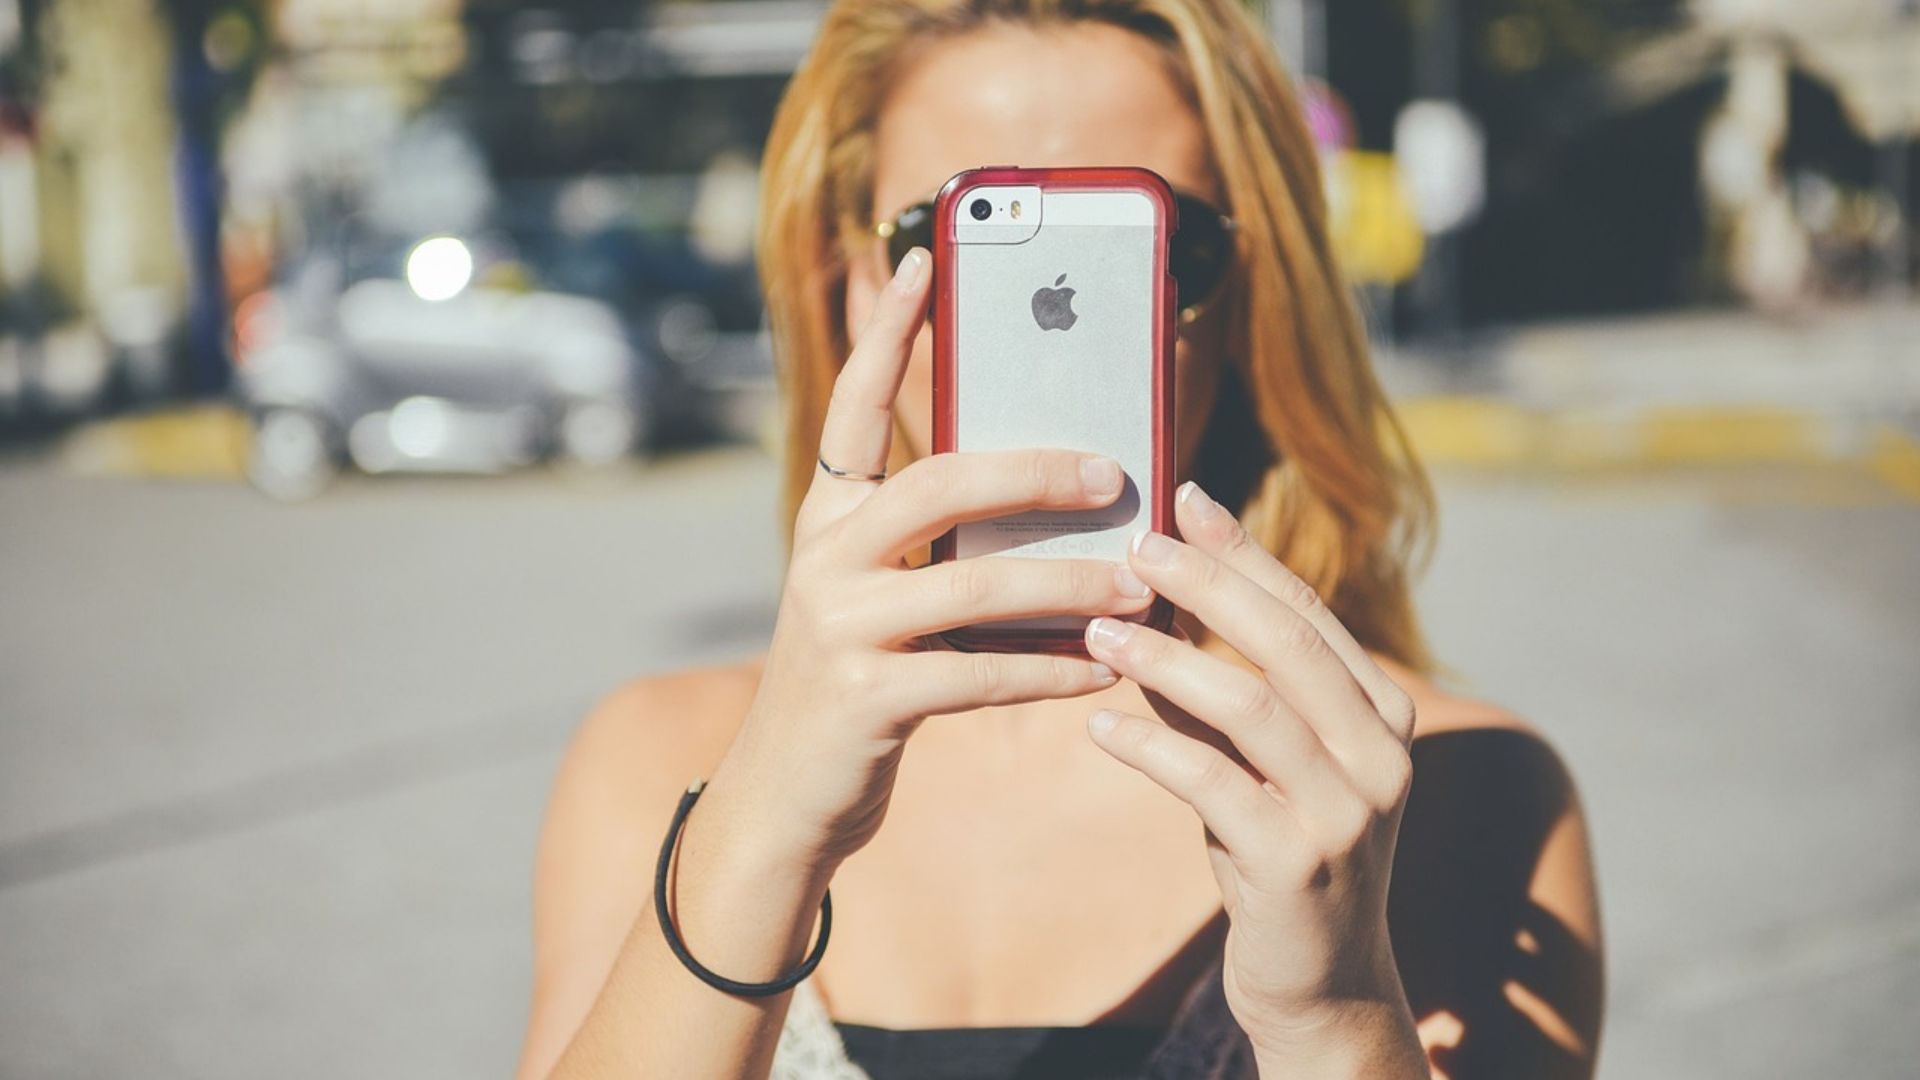
17. Hold Your Phone With Both Hands
There's nothing more disappointing than a shaky shot. Make sure you're setting yourself up for success by stabilizing your camera as much as possible, holding it with both hands.
18. Don't Rely On Zoom
Although the newer iPhones have quite an impressive zoom function, the focus is still never going to be as sharp as if you were to not zoom in at all. Wherever possible, physically move closer to your subject instead.
19. Don't "Stab" Shutter Button
You don't need to hit that button with any force to make it take a photo, a light touch will do just fine. When you "stab" the shutter, it shakes your phone which may translate into a shaky photo.

20. Use Photo Apps
If the built-in iPhone camera settings aren't doing it for you, there are countless apps available in the Apple store that can help you achieve better photos. They offer a variety of editing and photo tools that can help you retouch your shots to fit your vision more precisely.